Monday, April 11, 2011

Yard Sale Treasures


I love yard sales!  I have to admit that I was a late bloomer when it came to appreciating them.  My dad used to go every weekend, when I was in high school and I rarely went with him.  I thought it was embarrassing to dig through other people's crap while they stood around and watched.  Well, as an adult, I caught yard sale fever and there is nothing I would rather do on weekends than scour through piles of other people's crap!  I never know what treasures await!  Besides, where else can you pay no sales tax and buy something for a quarter nowadays?

On Saturday, Mr. Rubbish and I headed out to enjoy the sunny morning yard saling with a budget of $20.  I am a pretty cheap date!

I found these exquisite tags and cards - a whole pack for $1! 
Won't they make darling price tags for my more expensive items in the shop?


This heavy metal urn was also only $1!


My beautiful, heavy cherub knocker with a broken arm 
(hopefully fixable with a little gorilla glue) - also $1!


My favorite find of the weekend: a vintage (almost antique) office chair from 1923 for only $8!  Do you remember  this office chair I painted and sold at the shop a while back? This chair is similar, but smaller, older and armless.  This is a really bad photo, but the original finish is actually in great condition with a nice patina.  I may just leave it as is and keep it for our home!  Mr Rubbish calls this one "his" chair because he loves it and he spotted it first.


The metal base says 1923.


My other favorite find of the weekend is this vintage, wire, laundry basket that we picked up for $3!  I am really excited about working on this one!  I want to paint it creamy white and make a grain sack-esque liner for it that ties on the sides.  Can you picture it?

(I also got the petite cream and sugar set in the picture for 50 cents apiece).

On Sunday, my five dollars was burning a hole in my pocket, so I went out by myself and picked up a few more small treasures.

I found this old, rusty lantern for my collection.  I am collecting different, little, industrial style lanterns to use for eclectic lighting on my deck this summer.  This one fits in perfectly!  I bought the pretty blue bottle on Saturday for a quarter.


Last, but not least, is this gorgeous crewel fabric in the loveliest shade of pale aqua with white embroidery!  Look at the beautiful bird!  This fabric will make some very pretty pillows.

Thursday, April 7, 2011

Shabby White Side Table


I picked up this vintage table at a yard sale in Southern California while I was visiting my parents.  For only five dollars, I had to take it home with me.

When I got it home, Mr. Rubbish said it looked like it came from Grizzly Adams' cabin.  He was laughing at it because it was so masculine (and brown and hideous) and he did not think I could make it look good.  I have to be honest, I was starting to doubt myself too.  I thought, why did I even buy this beast of a table?!?

before


...but, there were some things I liked about it.  I liked the chunky legs, for one, and the double decker design.

after

Before I sanded and painted it, the table had a very well-worn finish with large, visible knots in the wood.  I could see Mr. Rubbish's point - it was ugly!


I used the palm sander to remove the old finish.  After applying a good primer, I painted it and then heavily distressed all the edges with the palm sander. 


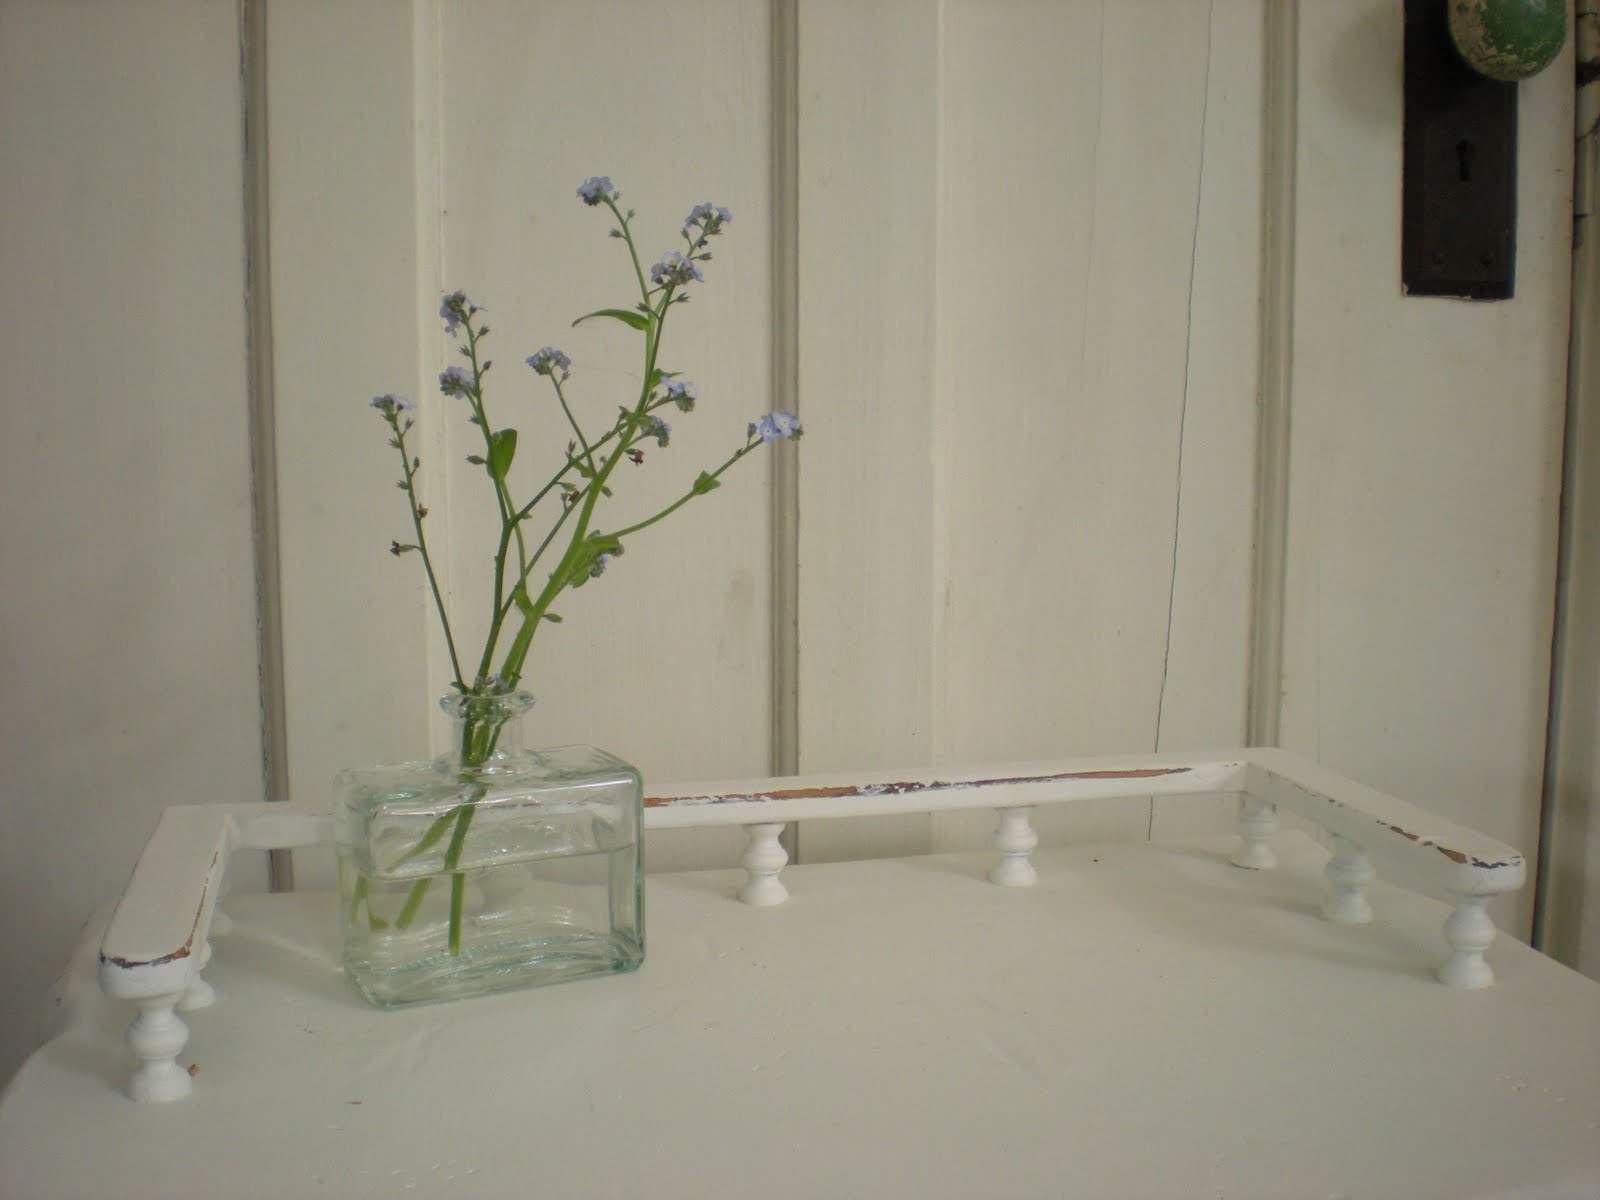
Another thing I like about this table is the little wood detailing around the top.


My favorite part of the table, though, is the tiny drawers with the vintage knobs. 


Mr. Rubbish was amazed because he did not think it was possible to make the Grizzly Adams table look pretty!


This post is linked to:


Monday, April 4, 2011

Swedish Side Table

Since my coffee table (this one was hard to part with) sold at Blessings Boutique, I had to get some new tables into my space quickly lest my stuff be on the floor.  This weekend I finished two tables and I am working on a third, so this is going to be a week of table projects here on my blog.

I spotted this lovely (not so lovely at the time) vintage table in my parents' garage.  My little brother recently went away to college and had used this table as a tv stand in his bedroom.  Since it was just gathering dust in the garage and because I thought I could make something of it, I took the little table home to give it a new life.

After

The table was scratched and dirty when I found it in the garage.  The beautiful, flower inlay did not stand out through the old finish.  

Before

After a good cleaning and sanding with my palm sander, the beautiful wood underneath was exposed!


I did not want to put a finish on the wood that would hide the inlay and the beautiful quality of the old wood, so I just applied two coats of tung oil to protect the top and brighten it up a bit.


I decided to add some contrast to this simple table by painting the base and legs white.


When I first saw this table I thought it might be too plain to make beautiful, but now I love the straight lines and simplicity of this Swedish style table.  


I love the warm, natural glow of the wood and the way the inlay stands out now.


This post is linked to:


Tuesday, March 29, 2011

Old World Chandelier


I finally finished the chandelier for my living room!  This was the first chandelier I bought and the most difficult to restore, which is why it sat in the corner of my living room for almost a year.


This boring, paper lantern has been in our living room since we moved in.  I love the open beamed ceiling of this spacious room and I knew a grand chandelier is what it needed.  I found this ten light, vintage chandelier on Craigslist for $30 and I loved that it was a mix of wood and metal.

Before

After

I started by sanding the wooden balls and center pieces down to bare wood.  Then, I taped off the wood parts and Mr. Rubbish spray painted the metal nutmeg brown.


I ordered silicone dipped light bulbs, so the lights look like real candles.  
Aren't they cute?


I whitewashed over the spray painted metal and bare wood by painting on watered down, white paint and wiping it off with a rag.  I completed the finish with a coat of brown glaze to add some old world charm.


 It was a lot of work sanding all the black paint off the wood parts of the chandelier, but it was worth it in the end.  I love how the new finish looks on the wood.


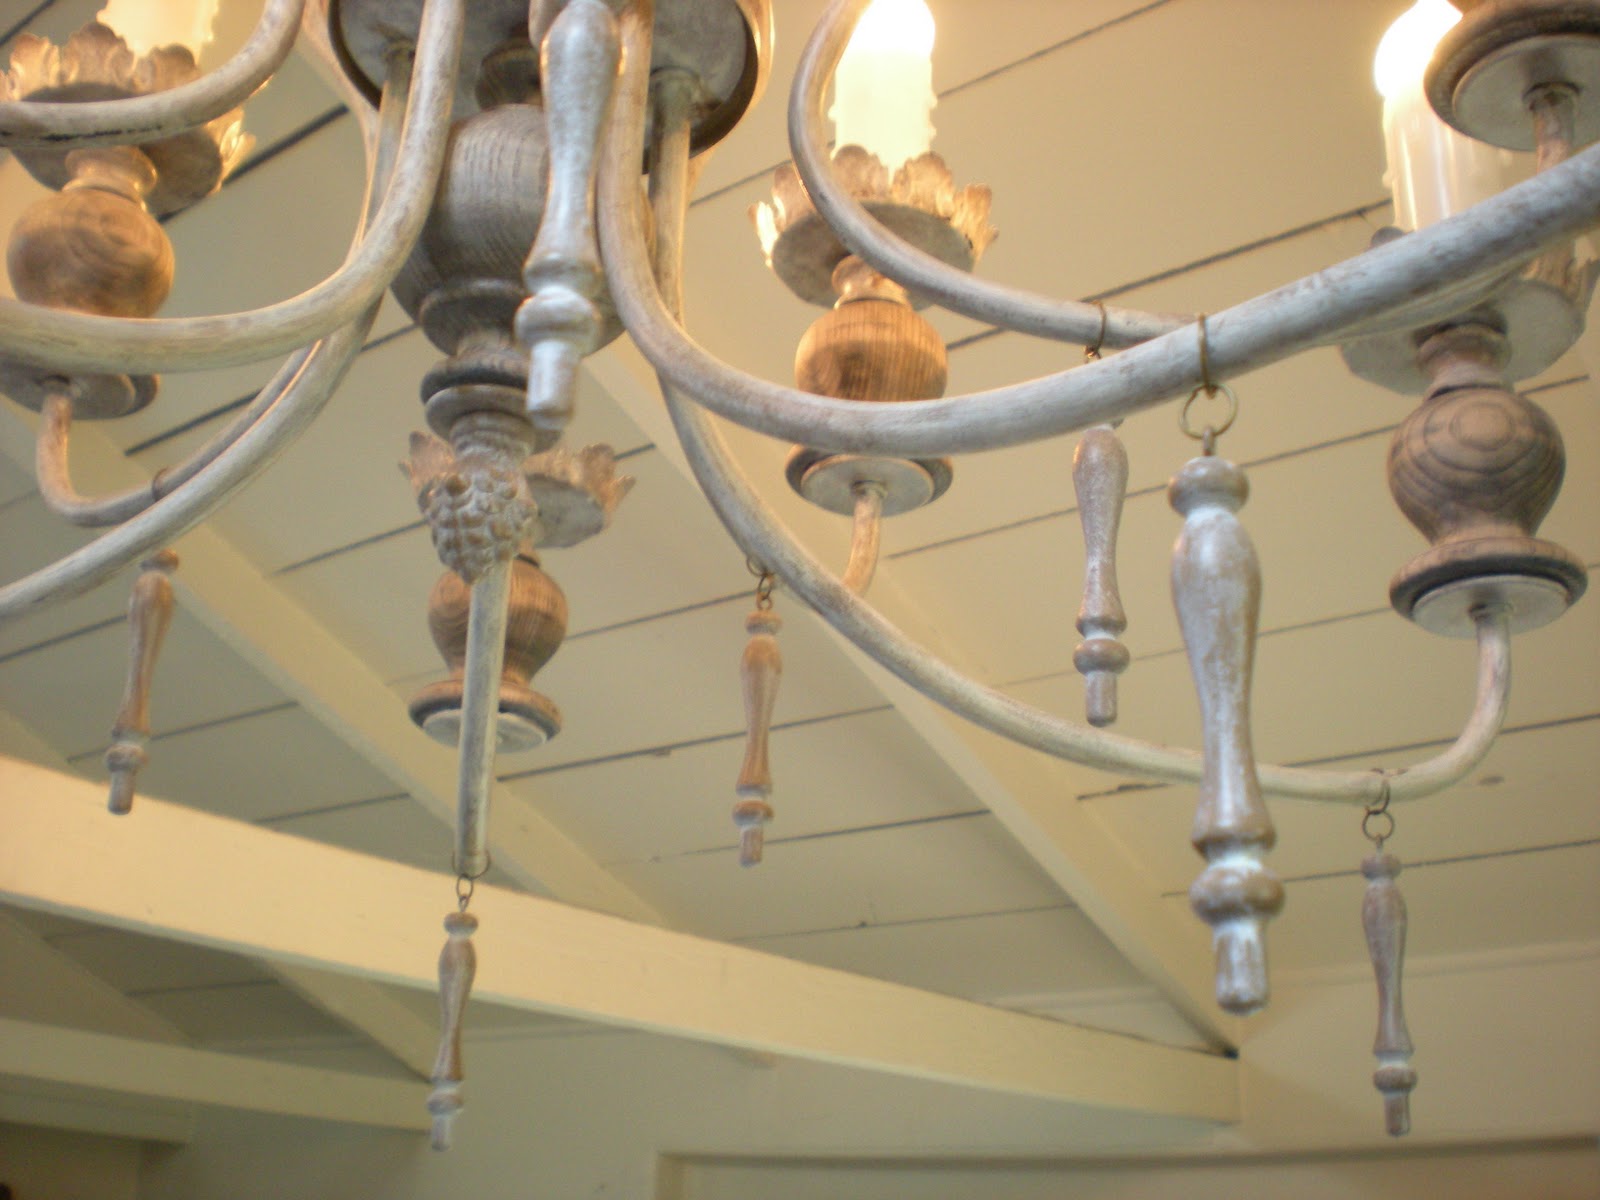
I had been looking for some kind of wooden danglers for my chandelier, when I came across these wooden dowels at a rummage sale for 50 cents.  I sawed them in half and inserted a screw with an eye in the top.


I gave the dowels the same finish as the chandelier and attached the new dangles to the arms.


Mr. Rubbish rewired the main cord to be able to plug into an outlet, since we do not have a ceiling wired for a light.  I can hardly believe we finally finished this project!  It gives such a pretty ambiance to our living room and is much better looking than the paper lantern.


This post is linked to:


LinkWithin

Related Posts with Thumbnails