Showing posts with label clear wax. Show all posts

Wednesday, November 19, 2014

Primer Red Chalk Paint® Kitchen Cabinets


We were recently hired to paint some outdated, blonde wood cabinets.  The homeowners replaced their countertops with granite and decided to have their cabinets painted, rather than replaced with new.


The kitchen looked drab before and needed to be refreshed.  


Our clients chose Primer Red Chalk Paint® for the cabinets, which added a vibrant warmth to the, once dull kitchen.  We sealed the Chalk Paint® with a coat of Annie Sloan Clear Wax.


The homeowners decided to have us paint the wall adjoining the countertop because they could not find a backsplash they liked and they wanted to keep it simple. 


We painted the backsplash and the wall above the cabinets with a custom mix of half Chateau Grey and half Old White Chalk Paint®. The pretty, pale green is a nice contrast against the Primer Red and both colors enliven the kitchen.


This home is in the forest and, despite the skylights, tends to be a little dark.  To counteract this, I recommended that they find a window and have it made into a mirror for above the sink.  They found the perfect size, old window on ebay. Besides reflecting light into the space, the mirror also allows them to see the outside, through the reflection of the doors on the opposite wall, while they do the dishes.

Monday, November 10, 2014

French Provincial Hutch with Chicken Wire


I recently came across this french provincial hutch at a yard sale.  I can never pass on a frenchy piece, so this one came back to the shop with me for a little makeover.


The hutch was done in the typical cream and gold, which is a common look for the reproduction french provincial furniture made in  the 1970's.  I wanted to make the piece look more like an old world French antique than a tacky, vintage reproduction.


I gave it a softer look by painting it with Coco Chalk Paint®.  I wanted to create a weathered look to make the piece look authentically older. After applying two coats of Coco Chalk Paint®, I made a wash by mixing 50% Old Ochre Chalk Paint® with 50% water. I painted the wash on in sections and blended it over the Coco with a rag.

BEFORE

AFTER

The Old Ochre muted the Coco and transformed it into a soft, warm, neutral grey. After the wash dried, I applied a coat of Annie Sloan Clear Wax, which made the color even more beautiful and added a smooth, creamy look. I coated the brass hardware with rustic brown spray paint to offer a nice contrast with the paint.

I painted the, previously gold, back and shelves with Old Ochre to brighten up the inside of the hutch.


The final part of the transformation was taking the glass out and replacing it with chicken wire that was also sprayed a rustic brown.   


The transformation from 1970's French provincial to antique French country is complete!

Tuesday, November 4, 2014

Pink Dream Bedroom


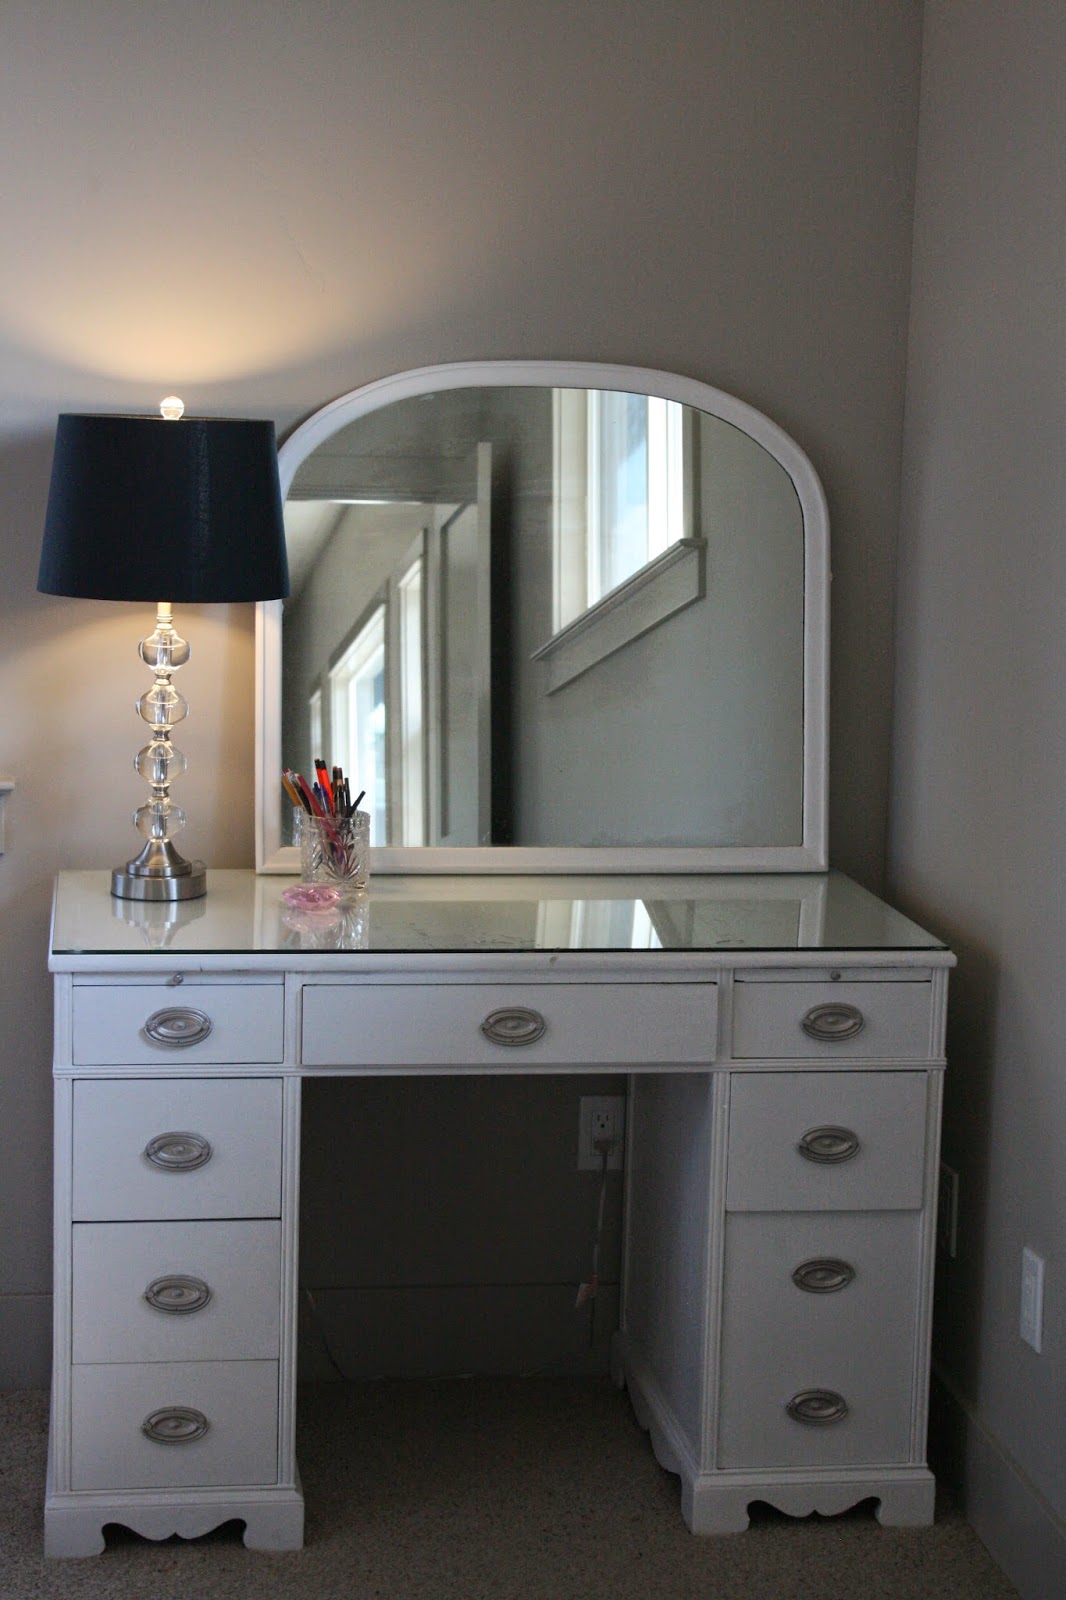
This little girl's dream bedroom was created with mostly vintage furniture that the family chose to salvage, rather than buying new.  This dark stained desk and mirror, were brightened up with a couple coats of Pure White Chalk Paint®.  The brass hardware was changed from gold to silver with gilding wax.

You can see the other sister's purple dream bedroom, the family's chesterfield sofa painted with Chalk Paint®, and their dining room, also transformed with Chalk Paint®.


The vintage nightstands had lost their charm, but were still functional with three nice size drawers for extra storage.


Nancy and I painted the pair of night stands with Coco Chalk Paint® and silver gilding wax for the handles.  Coco is a pretty complement with the pink bedding.


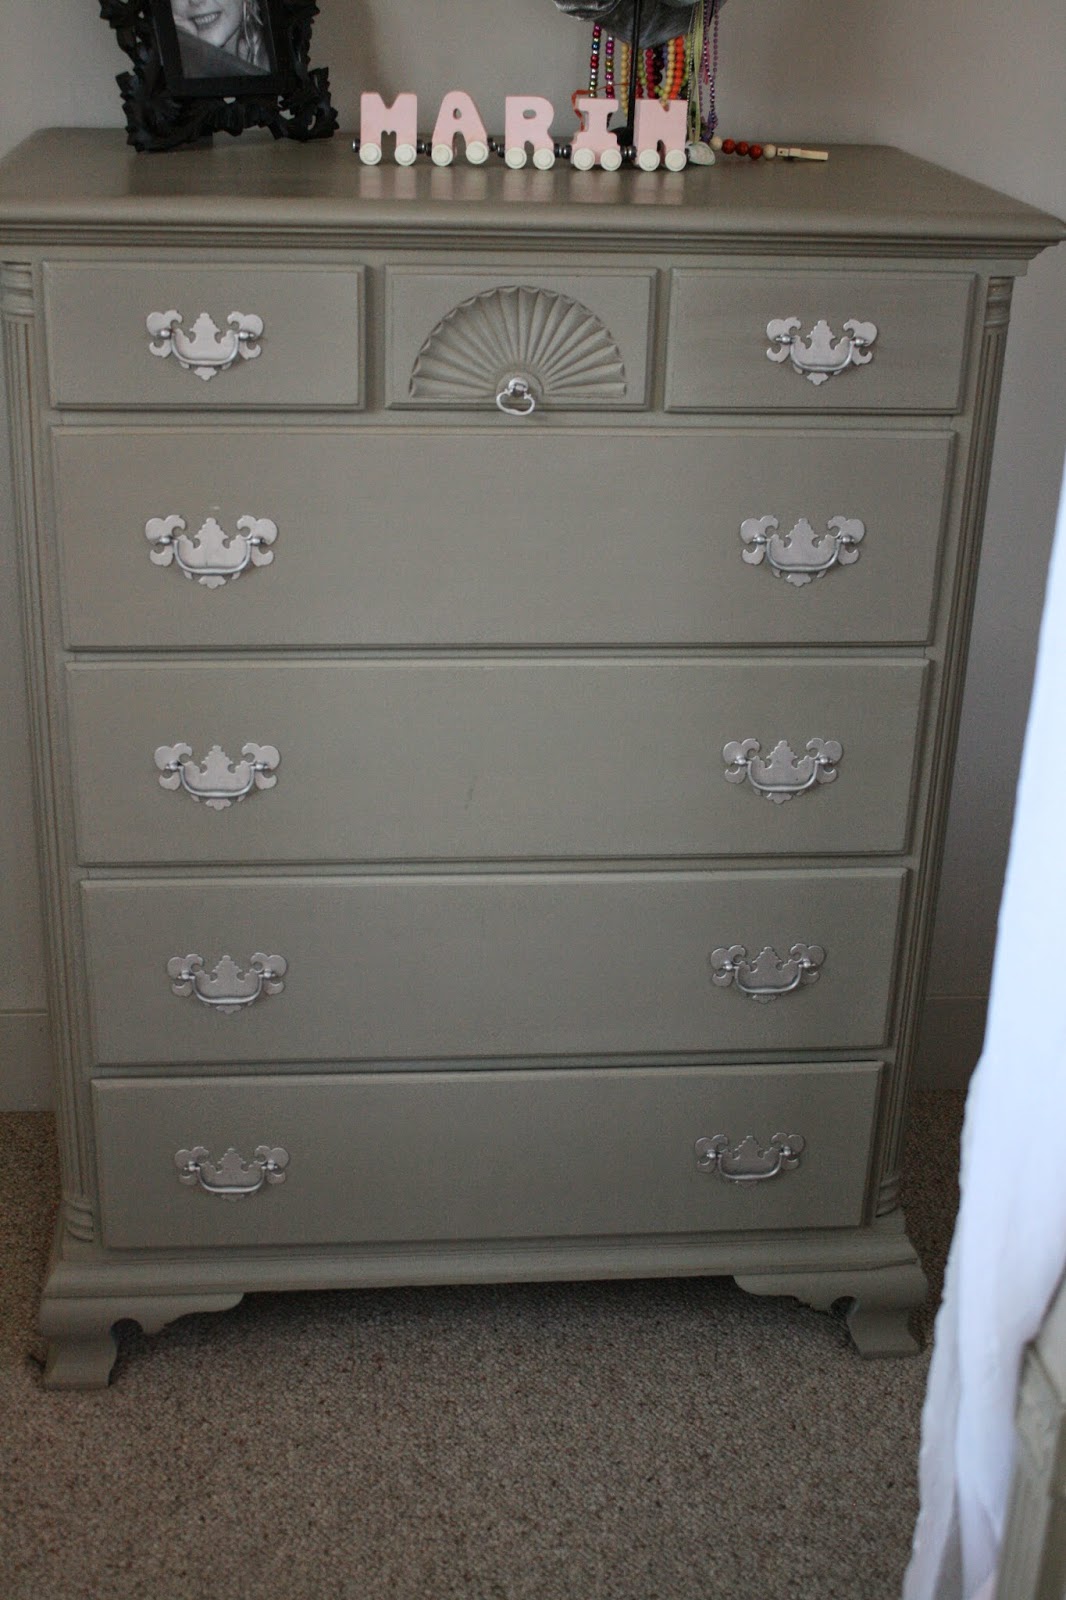
We also painted this tallboy dresser with Coco Chalk Paint.


Before

After
After Nancy and I finished painting all the pieces of furniture, her mother put it all together to create her elegant pink and Coco dream bedroom!

Friday, September 19, 2014

The Painted Sofa


Nancy and I just painted the upholstery on this gorgeous chesterfield sofa in the same home that we transformed a dining set, that you can see here.  Our clients recently purchsed this brand new, home and decided to reuse the furniture they had, so they hired us to make their pieces fit in their stylish, new space.


The shape and tufting of this chesterfield sofa are lovely and we were happy that they wanted to salvage it, rather than purchase a new couch.  


The microfiber upholstery was well-worn and stained from years of use by three small children.


The beige upholstery looked drab against the pale grey walls and they wanted a richer color.  We mixed Primer Red, Graphite, and Florence Chalk Paint® together to create this deep plum hue. 


The key to painting upholstery with Chalk Paint® is to first, mist the fabric lighty with water. It also helps to thin the paint with water before applying it and letting it dry thoroughly between coats. This ensures that you get even coverage that will soak into the fabric itself and not the material below it.  Thinning the paint with water also prevents thick coats that dry crusty.  


It took us at least three watered-down coats of paint to get this perfect coverage.  This is what the sofa looked like after the paint and before we applied the wax.


Annie Sloan's Clear Wax really gave the upholstery a polished look and deepened the color.


The fabric now has the look and feel of a soft, supple leather.


This chesterfield looks luscious in the new, deep, chocolate-purple color.  It is the perfect complement against the cocoa-colored hardwood floors and the pale, grey walls.


Check back next week to see their daughters' bedroom transformations!


Friday, May 2, 2014

Amazing Chalk Paint® Transformation on Oak Kitchen Cabinets


A few months ago, I was hired to paint the dated, oak cabinets in this spacious kitchen.  The owners wanted a custom look without replacing all the cabinetry, which would be quite costly in a kitchen this size.  

Before
The kitchen looked drab and uninviting before, with the heavily grained oak overpowering the whole space. It was definitely the perfect time for a fresh look in this kitchen.

After
After scrubbing the cabinet doors with an orange oil cleaner, I applied three coats of Old Ochre Chalk Paint® to cover the open grain of the oak. I sanded all the doors using super fine, 600 grit sandpaper before painting the third coat.  After the final coat of paint, I used 220 grit sandpaper to sand all the edges, adding dimension to the drawers and doors. When all the sanding was done, I applied two coats of Annie Sloan's Clear Wax over the paint and the finish turned out smooth and silky.


The man of the house, who happens to be a contracter with an eye for detail, was fairly skeptical that Chalk Paint® would live up to its reputation as the best paint in the world.  I think he was also a little bit doubtful in my ability to handle painting a kitchen this large all by myself and, although I did not let it show, I was a bit doubtful myself (my business partner sprained her ankle the first day on the job). However, by the time I finished painting all the cabinets, he was singing praises!


The old linoleum was replaced with a rich, dark, hardwood, which offers the perfect complement to the creamy cabinetry.


Initially, the owners were considering replacing the tile countertops with a solid surface, like granite, but after seeing the painted cabinets paired with the tile, they love the combination and decided to keep the tile.


They put iron cup pulls and knobs on the cabinetry, which definitely added to the new custom look of the kitchen.


 Old Ochre is a beautiful, soft color and it brings much needed warmth to this spacious kitchen.


Another enhancement the owners added to the cabinetry, is the lovely crown molding on top. This is such a small detail, but it made a monumental improvement to the look of the kitchen cabinets. 


The final improvement to this kitchen was replacing the boxed-in flourescent light with an elegant iron light fixture.  What a lovely kitchen we created together!


Monday, April 21, 2014

Custom Painted Built-in Cabinet


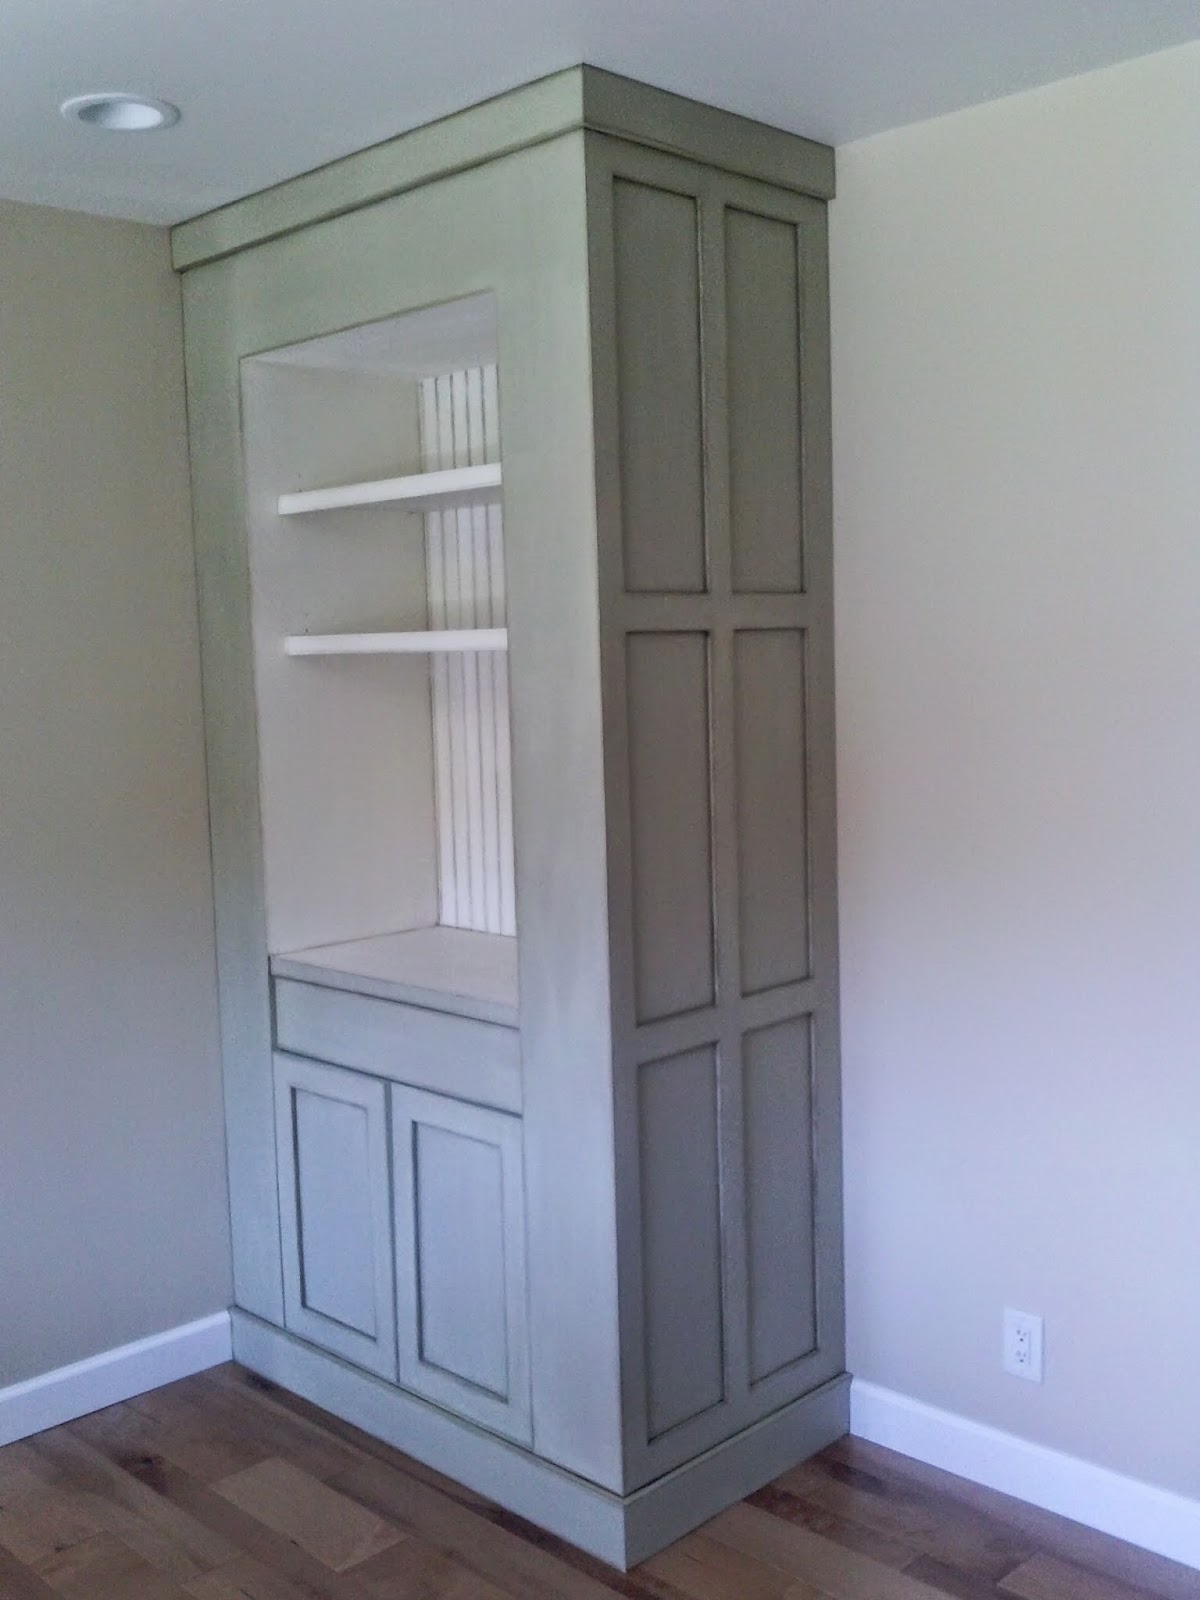
Nancy and I were recently hired by customers at Loot to paint this freshly made, built-in cabinet that sits in a corner of their newly remodeled kitchen.  

Before
The cabinet started out with unfinished wood.

After

Our customers chose Versailles Chalk Paint for the exterior and Old White Chalk Paint for the inside of the cabinet.  


The customers wanted some dimension, so we distressed all the edges and then applied Annie Sloan clear wax, followed by dark wax.  Instead of applying the dark wax over the entire cabinet, we used a small artist brush to paint the dark wax into all the grooves and edges. We did this same dark wax technique on the painted beadboard on the inside of the built-in.


Our customers were thrilled with their newly painted built-in cabinet!  These two Chalk Paint colors look absolutely perfect against the pale, creamy wall color and also tie in with the warm tones in the hardwood floors.

Thursday, February 6, 2014

Grey-Washed, Oak Chest of Drawers


I found this solid oak dresser at the Santa Cruz Flea Market recently.  It had a worn, orange finish, but beautiful hardware and lovely details.


I love painting oak furniture with Chalk Paint® because its open grain looks beautiful peaking through the paint. The technique I used on this piece is called dry brushing.  I applied one light coat of French Linen Chalk Paint with one of Annie Sloan's fabulous, natural bristle, oval brushes. Using very little paint, I worked it in and blended it with the brush to get a very thin coat, allowing the wood grain to show through.  In the past, I have used Chalk Paint® thinned with water (a wash), to get this effect, but I prefer dry brushing because sometimes the wash is uneven and does not adhere as well to furniture with a shiny finish.

One Coat of French Linen, Before Waxing
After letting the paint dry, I applied Annie Sloan's Clear Wax and then Dark Wax to enrich the color.

After Applying Clear and Dark Waxes
I also dry brushed all the hardware and applied dark wax over them for a beautiful patina.  The paint and wax really brought out the details on the drawer pulls.


This finish is easy to achieve, and although simple, it really accentuates the beautiful craftsmanship of this well-built piece of furniture.

LinkWithin

Related Posts with Thumbnails