


I finally finished the chandelier for my living room! This was the first chandelier I bought and the most difficult to restore, which is why it sat in the corner of my living room for almost a year.

This boring, paper lantern has been in our living room since we moved in. I love the open beamed ceiling of this spacious room and I knew a grand chandelier is what it needed. I found this ten light, vintage chandelier on Craigslist for $30 and I loved that it was a mix of wood and metal.
 |
| Before |
 |
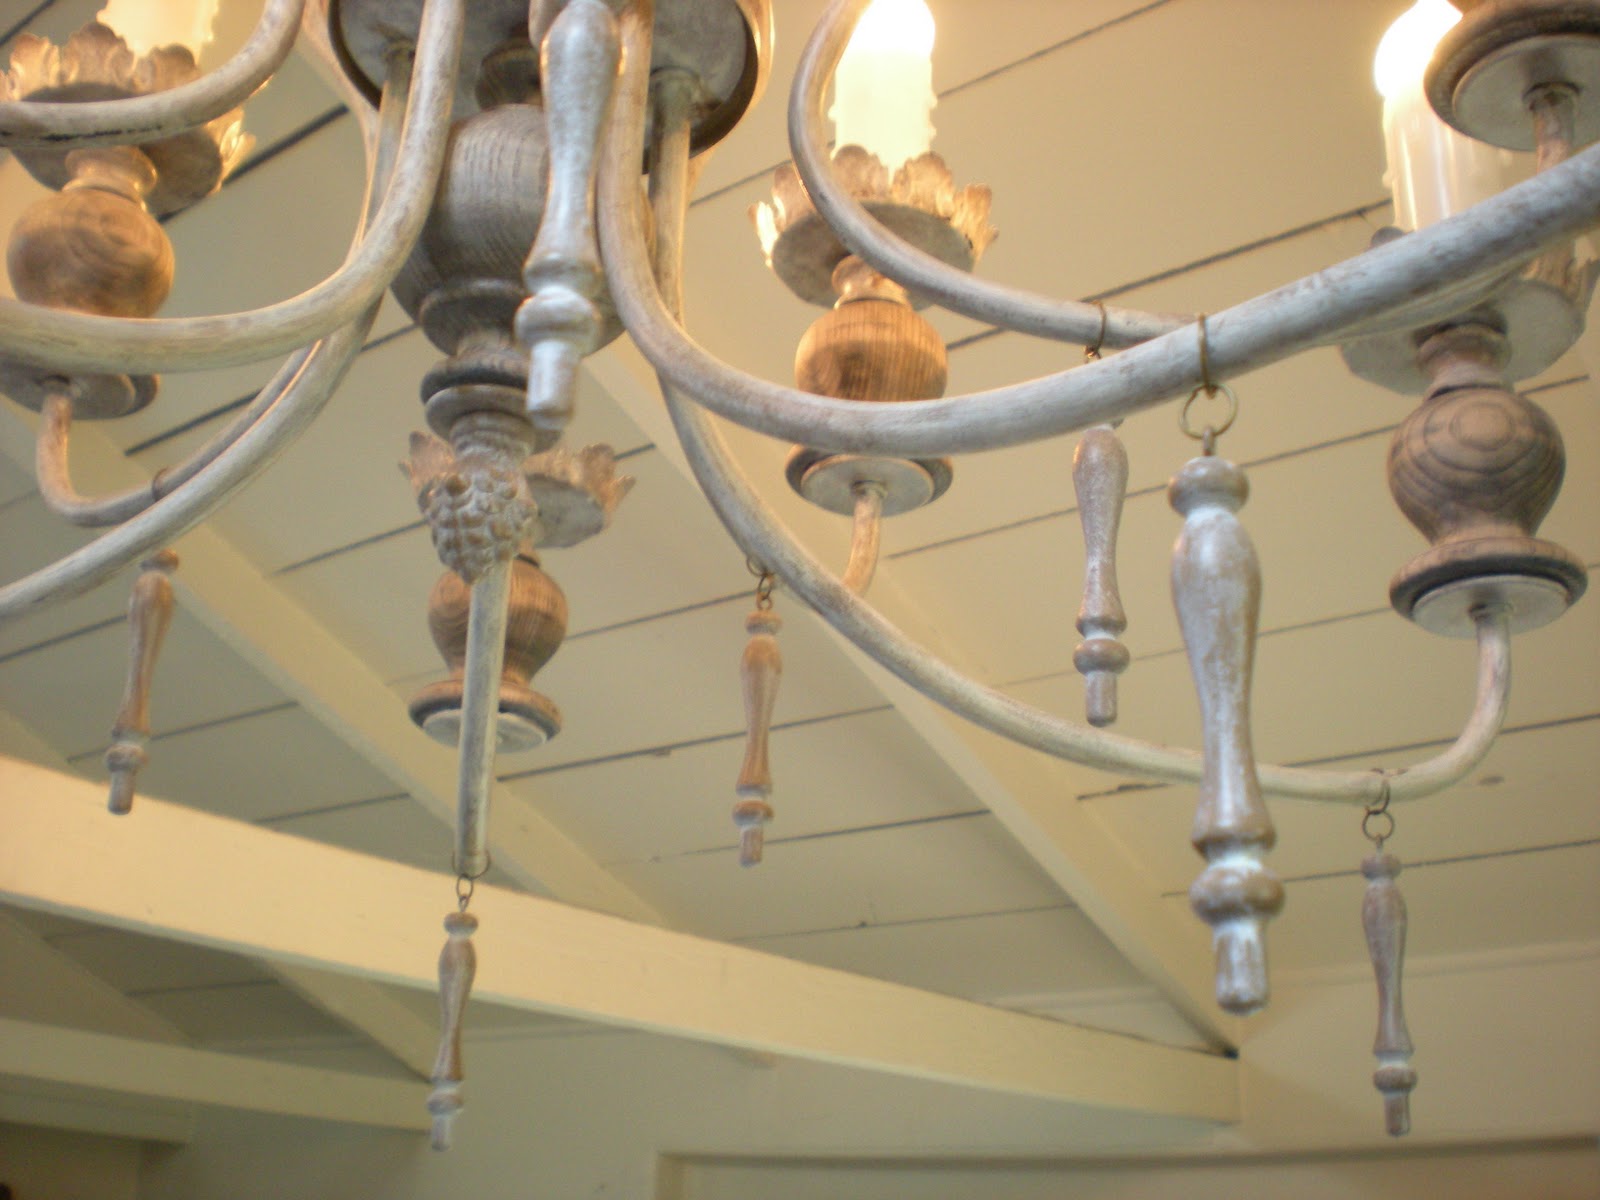
| After |
I started by sanding the wooden balls and center pieces down to bare wood. Then, I taped off the wood parts and Mr. Rubbish spray painted the metal nutmeg brown.

I ordered silicone dipped light bulbs, so the lights look like real candles.
Aren't they cute?

I whitewashed over the spray painted metal and bare wood by painting on watered down, white paint and wiping it off with a rag. I completed the finish with a coat of brown glaze to add some old world charm.


I had been looking for some kind of wooden danglers for my chandelier, when I came across these wooden dowels at a rummage sale for 50 cents. I sawed them in half and inserted a screw with an eye in the top.

I gave the dowels the same finish as the chandelier and attached the new dangles to the arms.
Mr. Rubbish rewired the main cord to be able to plug into an outlet, since we do not have a ceiling wired for a light. I can hardly believe we finally finished this project! It gives such a pretty ambiance to our living room and is much better looking than the paper lantern.

This post is linked to:


