Tuesday, February 22, 2011

Tutorial Tuesday: Botanical Art


It seems to be ages since I posted a tutorial, but this project is perfect because it is free (if you already have frames laying around) and easy!

At the end of summer, my sister and three nieces and one nephew came for a visit.  I live in a magical forest and we went on a nature hike, collecting leaves, flowers, and ferns.  When we got back to my cabin, we pressed them between sheets of wax paper inside thick books.  There they stayed, nicely preserved, until I decided to use them for this project yesterday.


First, I printed several vintage, fancy script, postcards from the Graphics Fairy onto a creamy cardstock.  Then, I used Modge Podge to adhere the leaves to the paper.  I also painted a layer of Modge Podge over the entire surface to protect the delicate leaves.


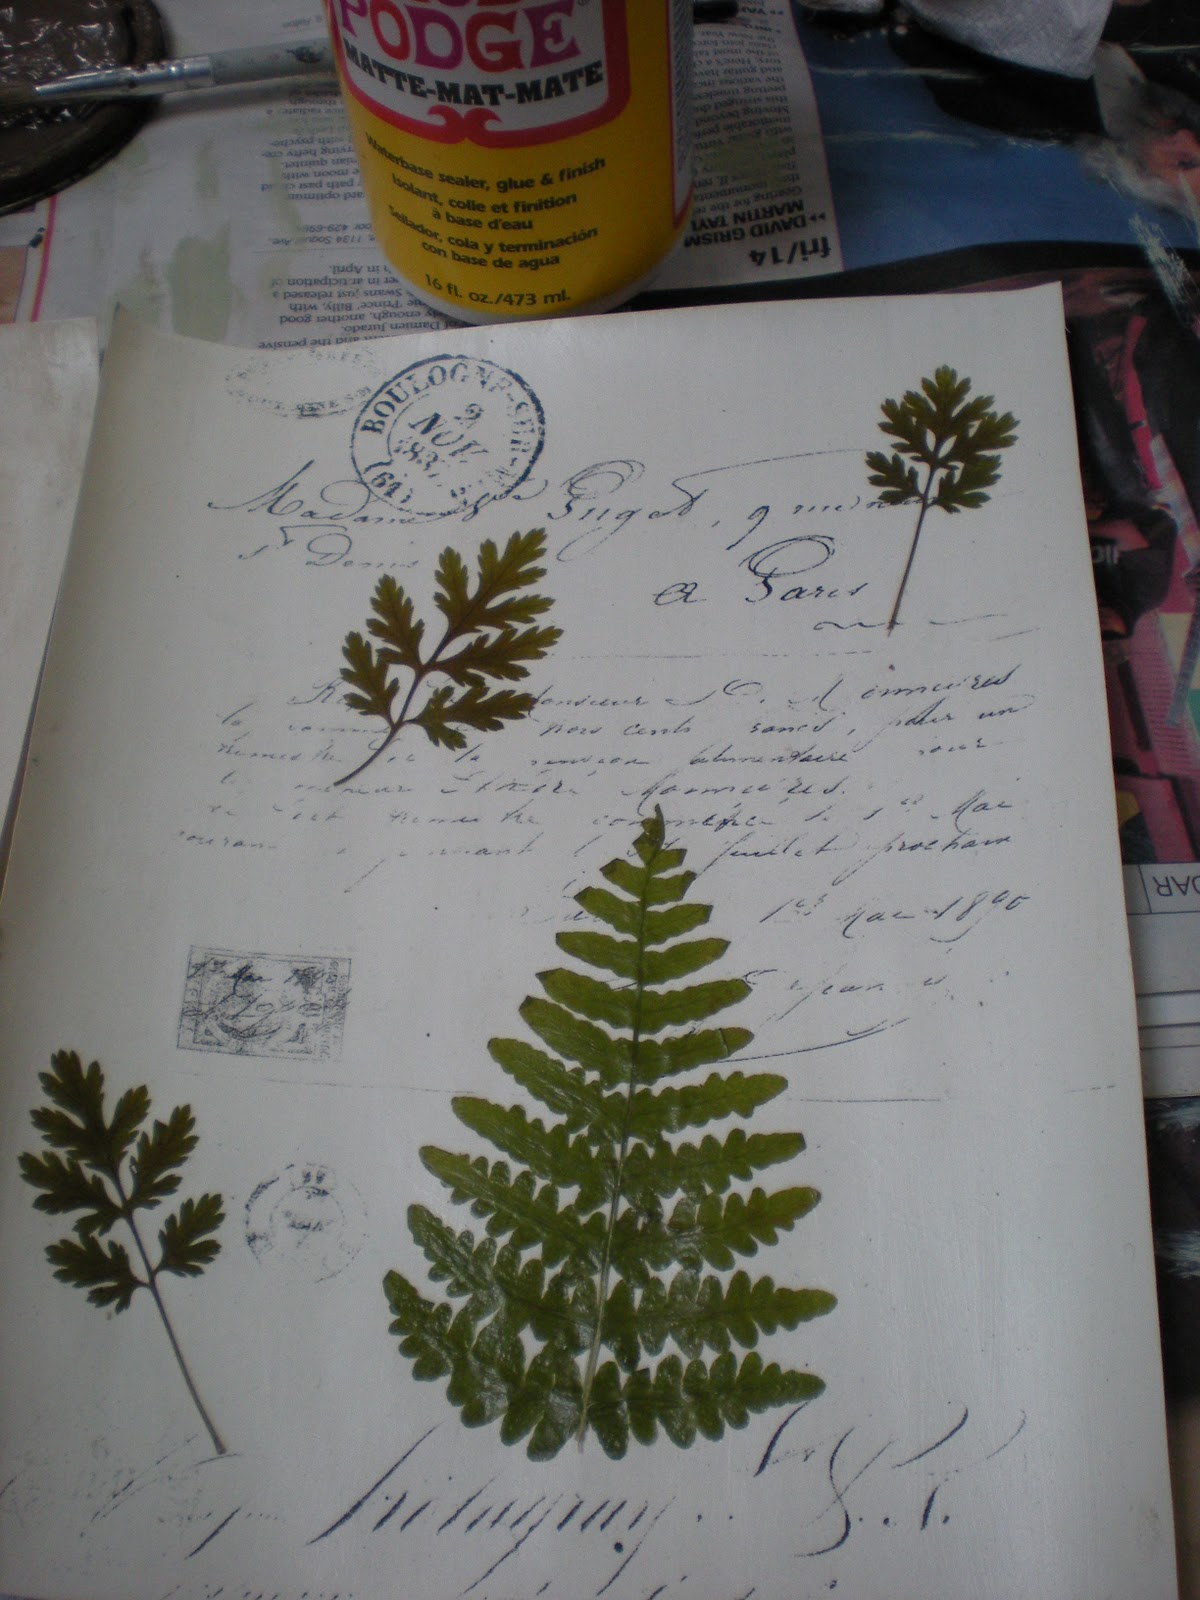
I wanted the paper to look aged, so I used a glaze to give it a nice, old patina.  I just brushed it on in a circular motion and rubbed it off with a paper towel.


These two 8x10" frames were $1.50 each at a thrift shop and I have had them sitting in a box of frames that I primered, but never painted.  They started out a pewter color.


I looked through my craft paint and, appropriately, selected a color called moss green to paint the frames.    I rubbed on some glaze after I painted them to give them an aged patina too.


For the finishing touch I added antique gold rub 'n buff along all the edges of the frames.


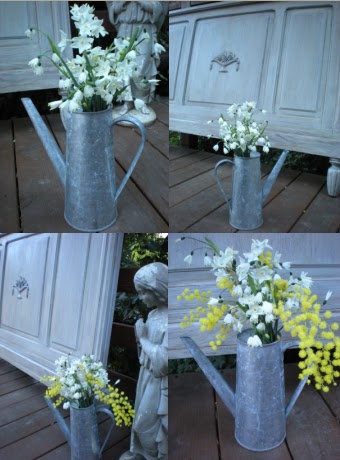
That is all it took to create some beautiful and unique, botanical wall art!  You can do this easy project using whatever leaves and flowers grow outside your house.


I had so much fun making these and it brought back fond memories of this summer and our nature hike through the magical forest.


This post is linked to:


Tuesday, February 15, 2011

Painted Letters


My mom bought me these little, letter plaques at Ross on clearance for 75 cents each. She said that she figured I could do something with them.  Well, after sitting in my to-be-fixed pile for many months, I finally got around to painting one of them.  


The plaque started out a rusty, flat brown with chipped edges.  


Now I just need to paint the other three letters.  


I painted the plaque a pretty shade of pale blue - Martha Stewart's tidewater.  I added some glaze and then gold rub 'n buff along the edges and over the scrolling design.


This post is linked to:


Friday, February 11, 2011

Happy Friday!

Yesterday I received a lovely package in the mail from Heather at Inspire Me Heather. I won her giveaway and I still cannot believe how many treasures I won!  Her blog is fabulous because she compiles all the best, creative, do-it-yourself ideas, from all the blogs out there, all in one place.  Click here to check out Heather's amazing blog!

Here is a sampling of what came in my package:


A lovely metal sign for my front door...


....and these fancy script curtains that are perfect for my bedroom window!


...and I can't wait to use these little numbers on a future project!


I also received vintage table linens, a vintage letter organizer and a salt & pepper shaker.  What a generous giveaway!  Thanks again Heather!

Wednesday, February 9, 2011

French Country Antique Headboard


I found this antique headboard at a yard sale for $5.  I love the shape of it and the lovely, original applique.  I sanded it down, patched a hairline crack and painted it with the same technique that I used on this coffee table.

before

It was a perfect find since my antique, iron bed is in storage because the slanted ceiling in my bedroom slants too low for the canopy top.  My antique bed is actually my favorite piece of furniture and I am saving it in my storage unit until I have a house that it fits in again.  Here is a picture of my iron bed in my old house.   Looking at this picture makes me miss my spacious house, especially now that I am living in a tiny cabin.


So...in the mean time, I have this new headboard to dress up my plain bed frame.  


I love the old, wooden applique of roses in an urn.


Ok, so I figured out, after I got home, that my headboard is actually a footboard.  Oh well, I am not so good with logistics - headboard... footboard... what's the difference?  Well, it turns out it is too short to be a headboard, so I bought these legs at Home Depot for a few dollars and Mr. Rubbish is going to figure out a way to attach the headboard to our bed frame.


 At least it looks pretty and hopefully it will be functional too!


This post is linked to:


Tuesday, February 8, 2011

Spring Flowers and Sneak Peek

Although we have over a month until spring technically arrives, it sure feels like it is upon us here in California.  Even the flowers and blossoms are starting to bloom in the warm sunshine.  I went on a walk around our property today with Mr. Rubbish and our two sweet kitties, Georgie and Beau.  Along the way I picked some pretty white flowers and a couple acacia tree branches with their splendid, bright yellow blossoms.


I hope my flowers can bring you some cheer and remind you that spring is just around the corner, especially if you are still in the throes of Winter in your part of the world.


I am nearly finished with my new headboard and cannot wait to show it to you tomorrow, so make sure you stop back by to see the final reveal!  Here is a little sneak peek of my headboard with my springtime blooms.

Thursday, February 3, 2011

Paris Map Bench


Last weekend was my 10 year anniversary and even though I am not supposed to go to any yard sales until I finish my pile, Mr. Rubbish took me to a couple estate sales he found on Craigslist.  One of the things he bought me was this bench for $2. What a perfect anniversary gift! 


 It was old, ugly, and beat up, but I love little benches like this.  The finish was already sanded (or worn) off and it was ready for a custom paint job! I took the dirty old cover and padding off and added thicker, foam batting.


I wanted to create a distressed, white-washed finish, so I mixed my white paint with water (about 50/50) and brushed it on.  After brushing the paint on, I used a clean rag to rub the paint into the surface and allow some of the natural wood to show through.  Next, I sanded the legs, so even more of the original wood showed through on the turned legs.  The final step was applying Ralph Lauren glaze (smoke color) and rubbing it off with another clean rag.


To reupholster the seat, I chose this linen, Paris map fabric from my local fabric shop. I actually purchased this fabric to redo my friend's chair and I had extra to cover this bench.  She lived in Paris for a while and I know she will love the print.  I will post pictures of her chair when it is complete.


This little bench is on its way to the shop!


This post is linked to:


LinkWithin

Related Posts with Thumbnails